Currently Empty: $0.00
Get Crafty this Christmas
What better way to get in to the Christmas Spirit then to get crafty with the family. With not long to go until Santa will be at our door delivering pressies we through we would do a round up of some of our favourite Christmas crafts.
Santa Puppets
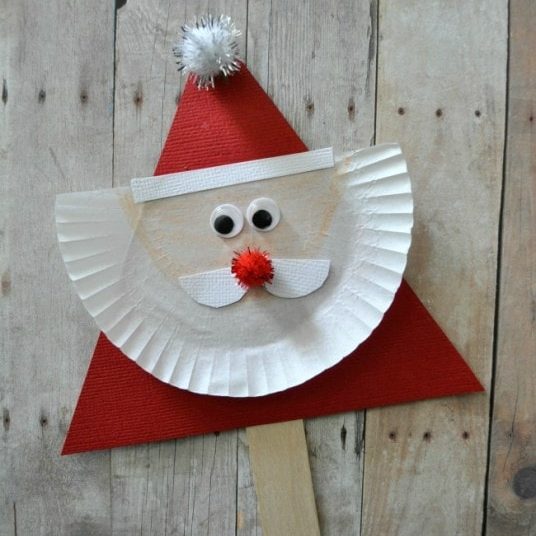
What do you need?
- Stick
- Red Construction Paper
- White Cupcake Liner or White Construction Paper
- A4 Sheet of Paper
- Crayons
- Red and White pom-poms
- Eyes
- Glue
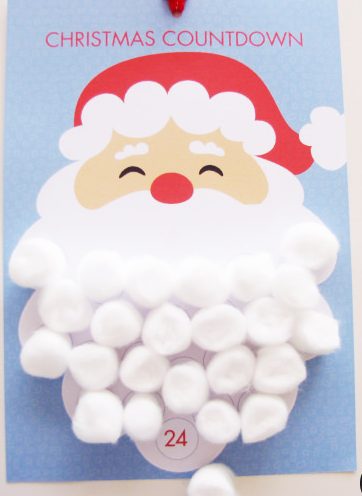
Santa Calendar
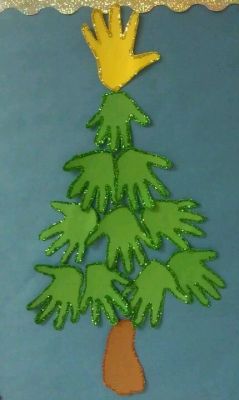
Family Handprint Christmas Tree
Christmas goes hand in hand with family-time. Why don’t you try to make this Christmas Tree with the whole families hands on it.
What do you need?
- Green, yellow and brown construction paper – if you don’t have you can use white paper and paint accordingly
- Glitter
- Pencil
- Glue
- Scissors
How-to-Make:
- Grab the green construction paper and a pencil. Take a family members hands and trace it on the construction paper. Do the same with all the family members. You can encourage kids to do the tracing to support fine-motor skills
- Once finished cut carefully around the traced hands
- Now, grab the brown construction paper and trace around a family member foot and cut it out.
- Take the yellow construction paper and cut a star from it. (It will be the top of your Christmas Tree)
- Arrange all the hands in the shape of a tree, using the bigger ones as the bottom of the tree and the smaller ones as the top.
- Use the feet tracing as the trunk. Glue it.
- Finally, spread some glitter to decorate and glue the star on the top!
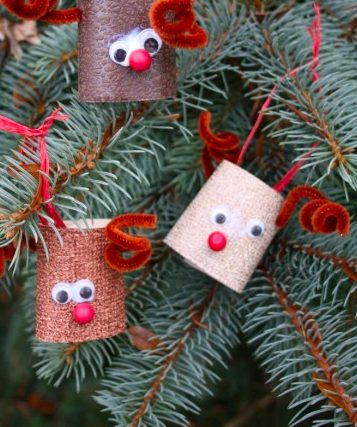
DIY Reindeer Decorations
Source: happyhooligans
Decorating the Christmas Trees with some home-made crafts is not only fun, but it will add some uniqueness to your tree!
What you need?
- Toilet paper rolls
-
-
- Brown wallpaper samples
-
- Pom-poms
- Ribbon
How-to-Make:
- Cut the toilet rolls in two and wrapped them into the brown wallpaper sample. You can also paint it brown if that is easier for you.
- Make a hole in each side of the top of the tube that will be the reindeer’s antlers. Slide the pipe cleaner through.
- To make the nose glue some pom-poms on the middle.
For the noses, we used some artifitcial berries that were on a wire. We poked that wire through a hole in the front of the tube, and bent the wire inside the tube, to hold the nose in place.
Then we glued our eyes in place, and attached a ribbon for hanging.
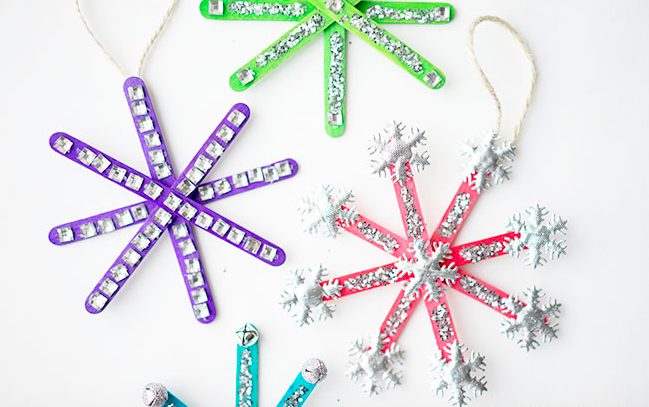
Sparkly Snowflake Ornament Craft
Source: best ideas for kids
If you have any ice lolly sticks lying around the house then this craft activity will make good use of them.
What you need?
- Lolly sticks
-
-
- Stickers
- Bells
-
How-to-Make:
Get two lolly sticks and make a cross. In the centre use your glue gun to place a dot of glue, then hold firm until it dries. Get the third stick and repeat process.
Then get to work jazzing up these ordinary lolly sticks to make them in to something pretty special! Go crazy with paint, stickers for whatever else your little one wants to add. Your kids will love deciding which colors to use and, of course, bedazzling each snow flake. Once finished make sure you add some string so you can hang these fabulous decorations on the tree or around the house.

